Self-Balancing Robot

The following is a computer vision project for a class in Human Computer Interaction. The task was to create an autonomous moving vehicle that finds the center of a projected light source, built exclusively from laser-cut parts and some given electronics.

I decided to create a self balancing robot because it’s more agile than a device with more wheels and for the extra challenge that comes with it. It took a lot of iterations before I had a working prototype, especially because of gears and weight optimisations.

First Prototype

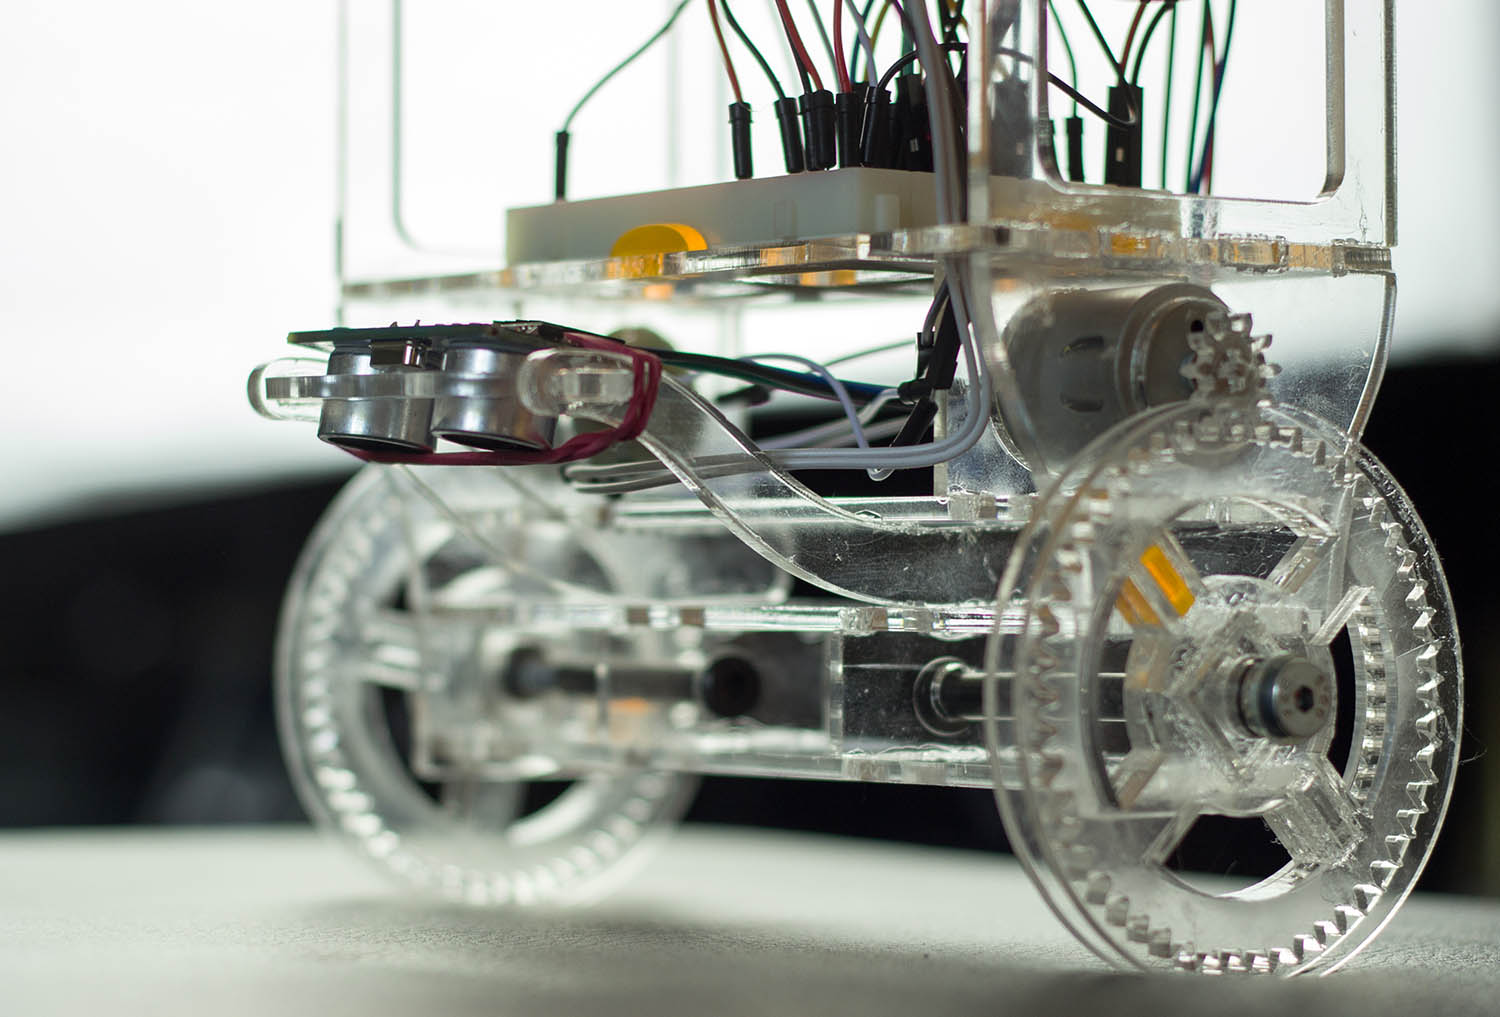
My initial design was basically a shelf on wheels. Because only laser-cut parts were allowed, the wheels are just multiple acrylic circles. The top level of the shelf held a battery and the light sensors, below that was an Arduino Nano. On the bottom layer was a breadboard with an H-bridge on it (for controlling the DCs).
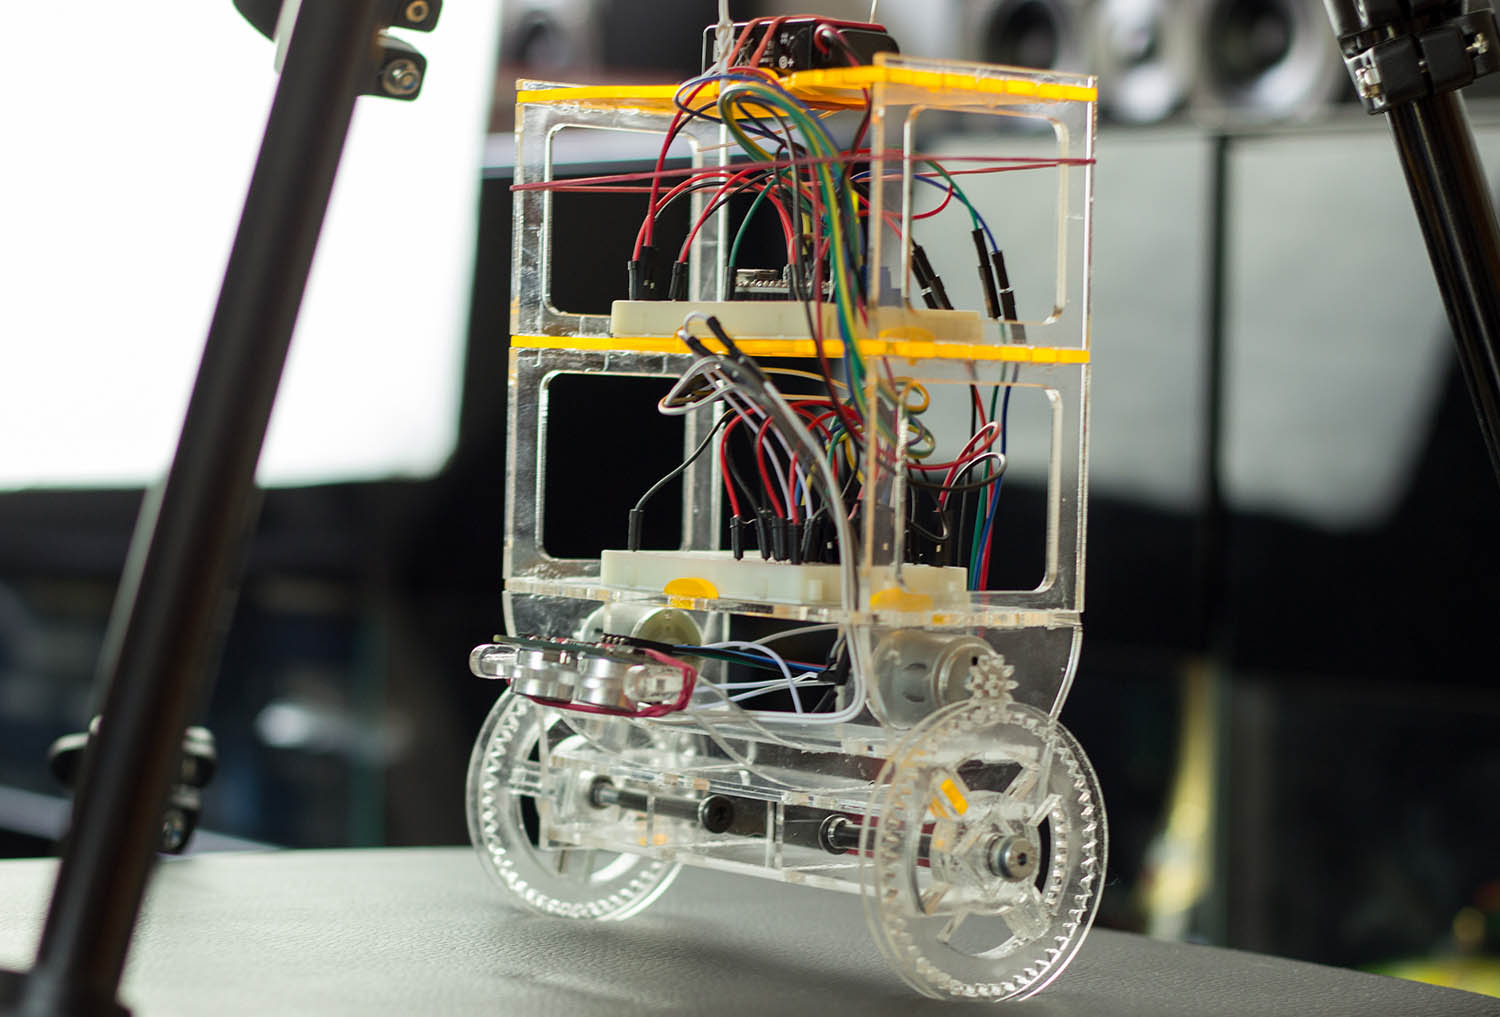
Self Balancing Robot Prototype Self Balancing Robot Prototype

In all my prototypes the balancing magic is done using an ultra sonic sensor. It detects the distance to the ground and can calculate the tilt angle using that information. Surprisingly, this worked out quite well. Usually people use a gyroscope for balancing things, but I had this sonar lying around and wanted to play with it.

Last Prototype

Unfortunately the above robot had a few flaws. It wasn’t able to balance itself because the DC motors didn’t output enough power. Friction between the gears and not enough transmission resulted in barely spinning wheels at all (without any load).

Self Balancing Robot Sketches

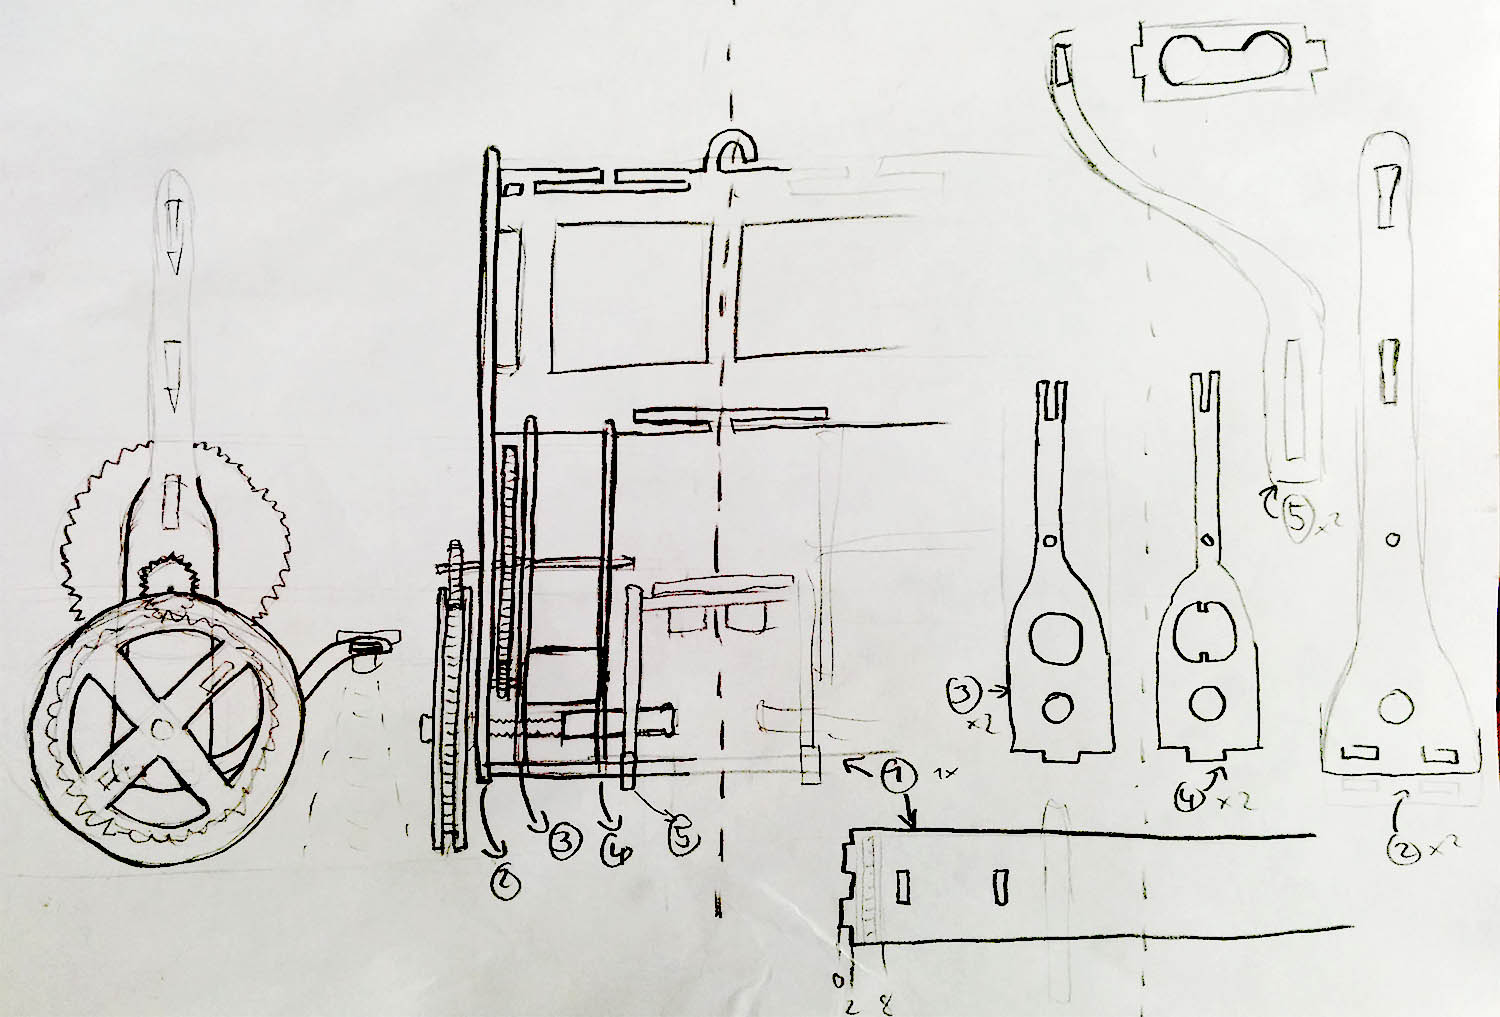
I needed to come up with a new robot that has significantly less weight, smoother axis and improved transmission. I came up with the sketch above, it has some more gearing and gets rid of the layers (shelf look). I also removed the breadboards and used thinner acrylic to make it more lightweight.
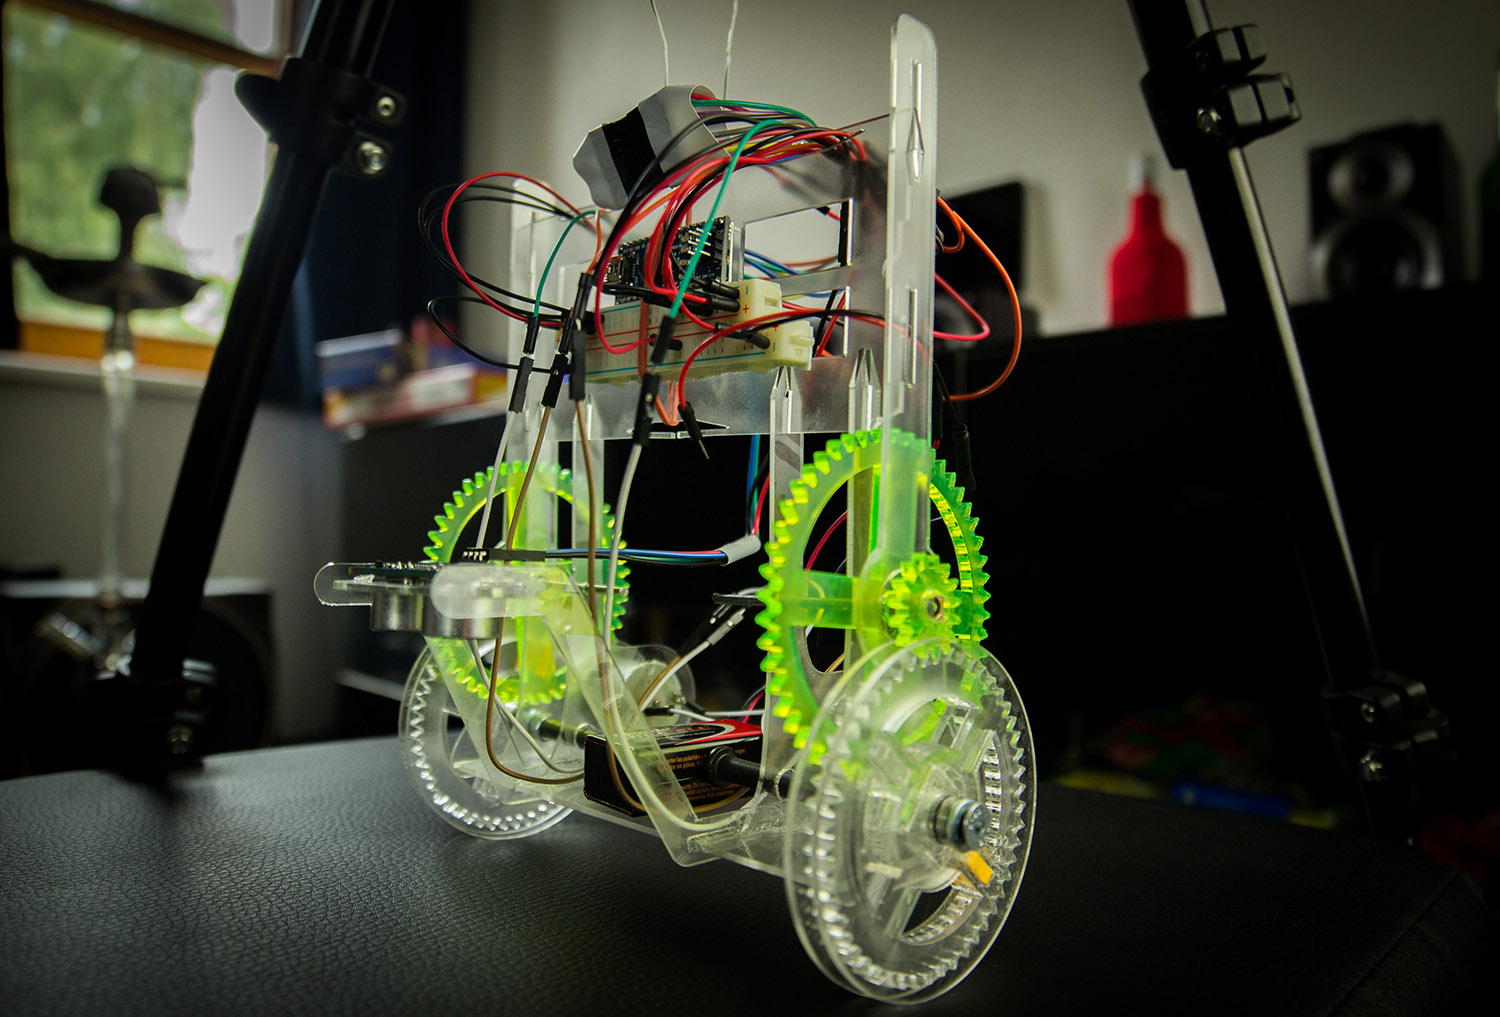
Self Balancing Robot Prototype Self Balancing Robot Prototype

This robot didn’t only look fancy, it was also able to balance itself! Although it couldn’t tolerate a lot of distortion because of the weak motors, it was my final version (just in time for the contest).

Contest

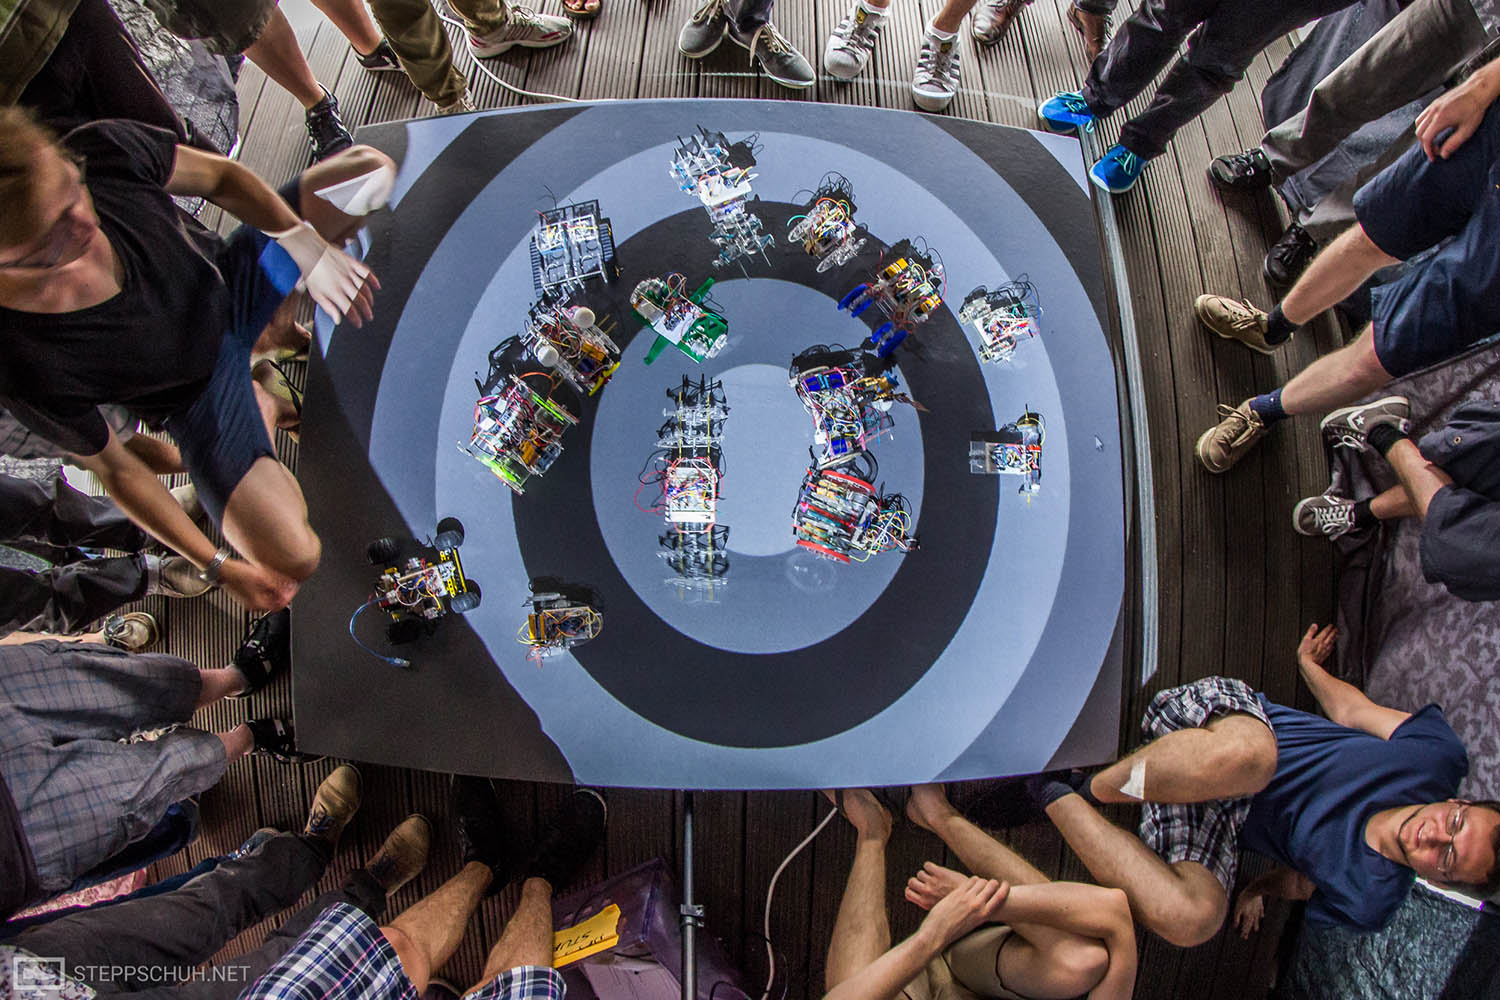
We actually had a competition for all the projects that my fellow students created for this class, you can have a look at the different approaches in this short video. Everyone had a ton of fun and as usual, there wasn’t any robot that didn’t had some weird issues. Anyway, my version won me an engraved mango for being the most exotic design, jay!
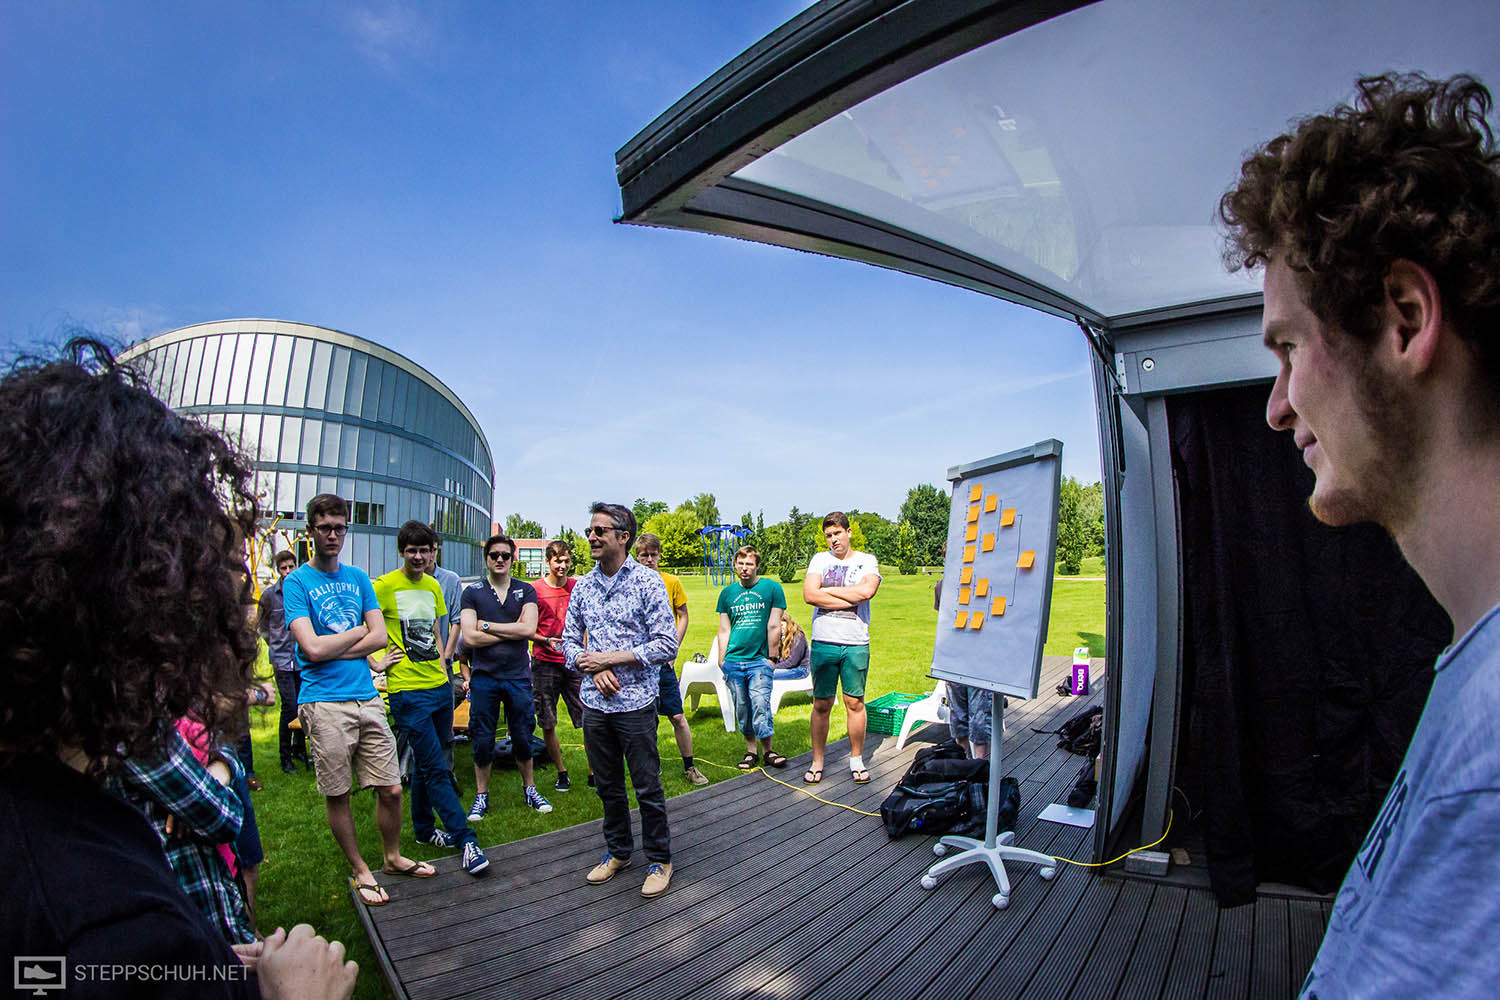
Self Balancing Robot Battle Self Balancing Robot Battle

If you want to learn more, you can find some images, wiring details and code on the project site on hackster.io:

3D printed catapult

As part of my ongoing lecture about Human Computer Interaction, I got the assignment to shoot a small metal ball as far as possible – with a 3D printed thing.

That sounds like an easy thing to do right? Right, if there weren’t these specifications:

  • No additional materials allowed (printed plastic only)
  • Magazine holding at least 3 shots (metal balls)
  • Next shot loads automatically
  • Trigger may be operated with a stylus
  • Object stands & deals with the recoil itself
  • Dimensions of max. 5cm x 5cm x 5cm
  • Using max. 3cm³ of material

Design

Every team only has one chance to get it right. No prototyping iterations possible – the submitted model will be printed once and used for the competition.

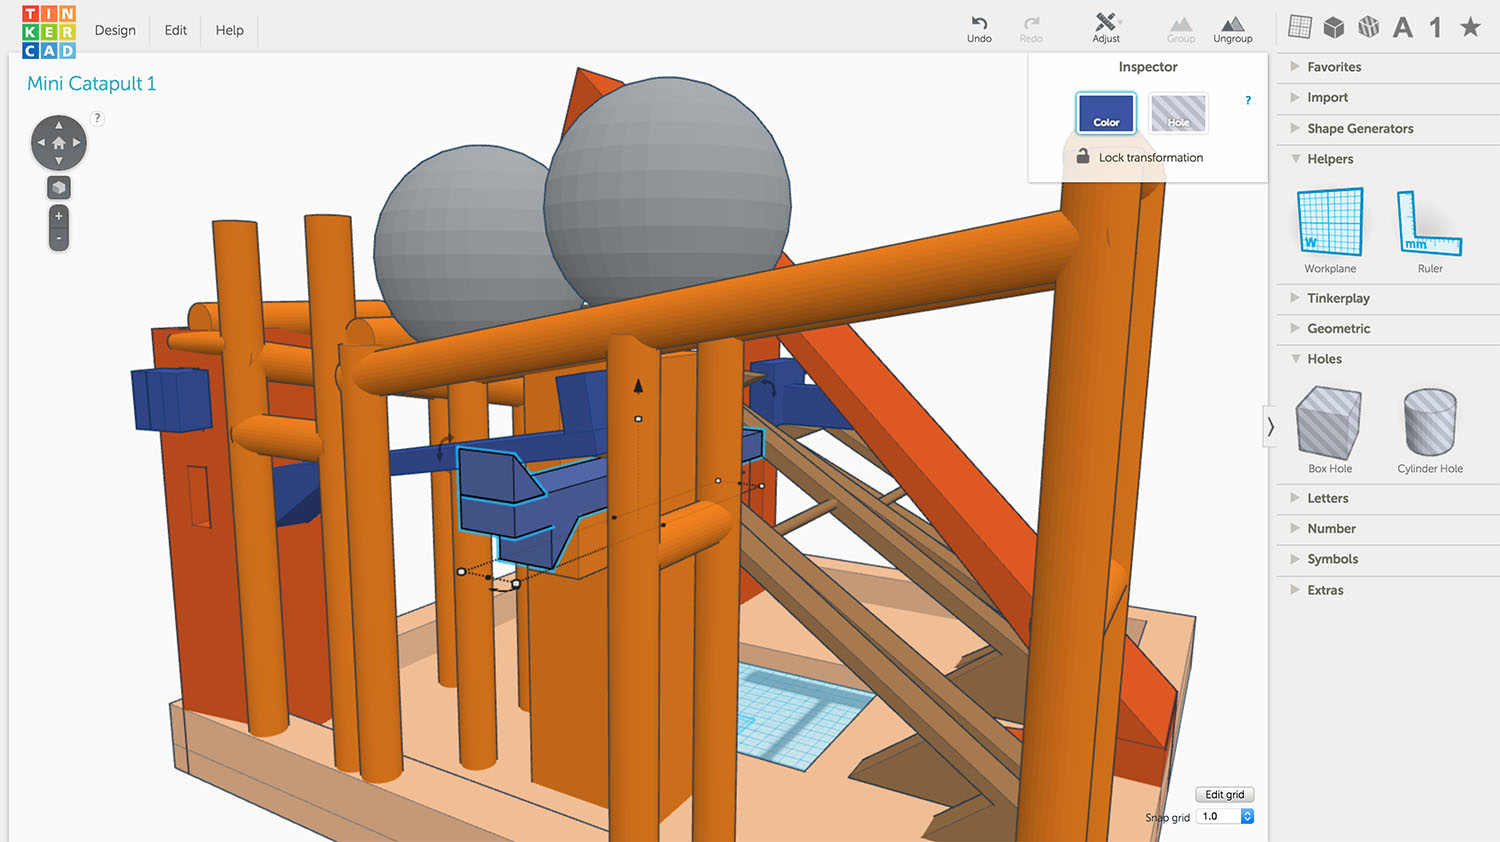
Keeping in mind that all parts of the ‘thing’ will be made out of plastic, a catapult with a bendable arm (orange object in the center) seems like the best approach.

Catapult 3D Model CAD

You’ll find quite a few flexible lever / spring objects that create tension (brown in the render above). The ones in the front create some pressure against the trigger mechanism, the ones in the back are there to control the shot reloading.

When the catapult arm bends down, it will also toggle the shot reloading and one ball will roll onto the arm. The long blue bar at the very right will hold the arm in place until someone triggers the shot. The trigger mechanism can be operated by pushing a stylus or pen into the hole of the orange object in the front-right corner.

3D Model

Although I have barely used any 3D modeling software before (SketchUp years ago), I was able to create the object above with Tinkercad in just a few hours. It looks really messy, but that’s due to the tough space limitation. You may want to check out the real STL model in 3D to get an idea of what’s going on there.

Catapult Tinkercad Editor

Phyisical Object

(not printed yet, come back next friday)

If you want to play with the model, feel free to copy it directly from Tinkercad:

Winning the SAP InnoJam and DemoJam

Project: Remote Farm

You probably know about FarmVille, a game where you can build a farm in your browser. The problem is that you only have a virtual farm so you will never eat your harvested fruits. Remote farming provides the possibility to plant, water, fertilize, and harvest your own plants in real life taking into account concepts like social media and gamification. This app enables you to monitor the growth of your plants by checking live sensor data and even lets you watch the plants grow using a Webcam – literally.

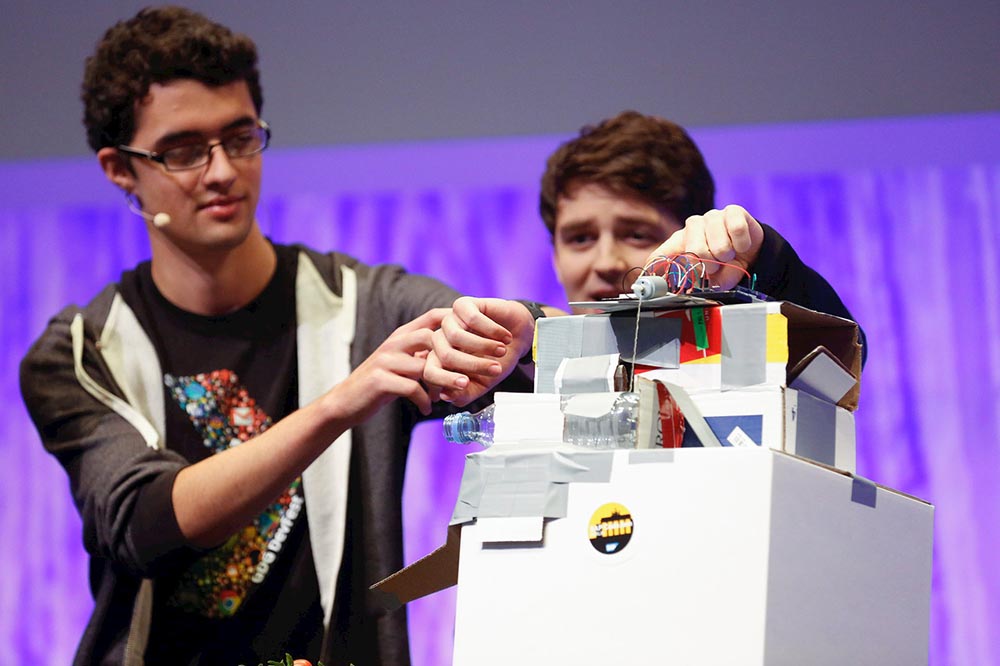
Remote Farm App Remote Farm Prototype

SAP InnoJam

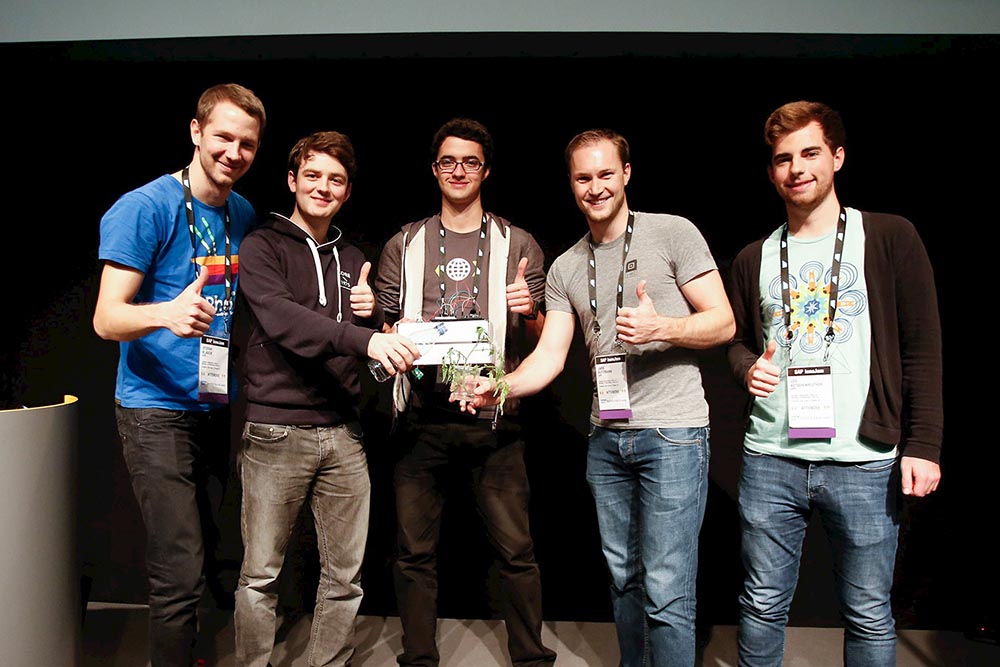
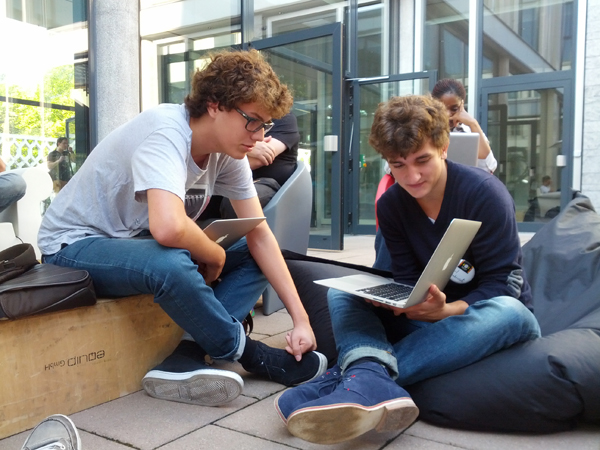
Together with 4 of my fellow students I participated at this years InnoJam in Berlin, a coding challenge contest where you get to learn about SAP technologies and partner with participants to build a prototype solution for a real-life business scenario or need. The theme was Internet of Things for the Agricultural Industry, so we came up with Remote Farm – and won the InnoJam.

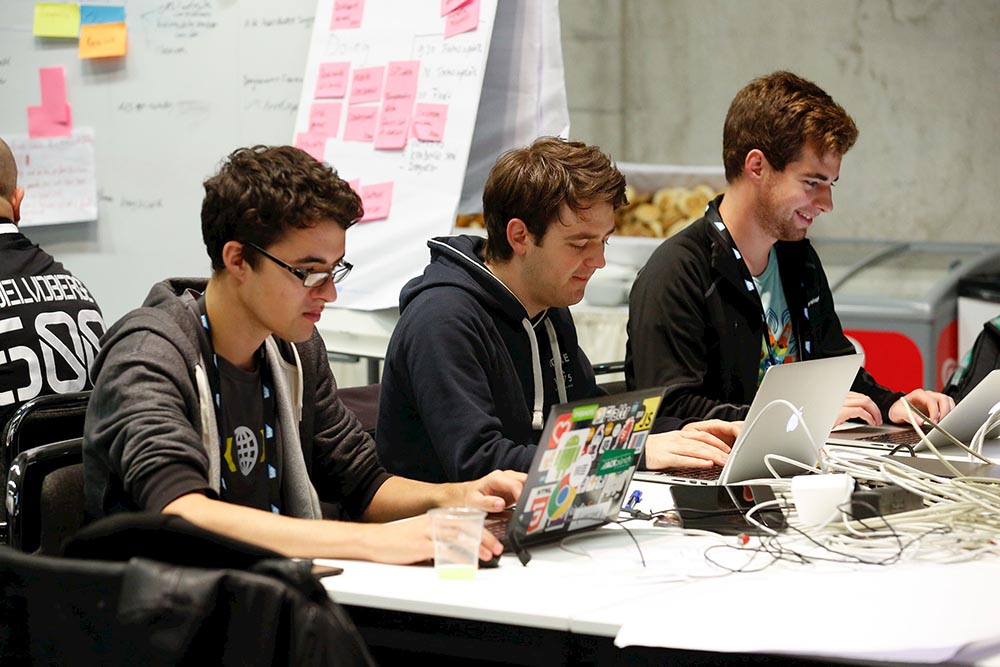
InnoJam Team InnoJam Hacking

SAP DemoJam

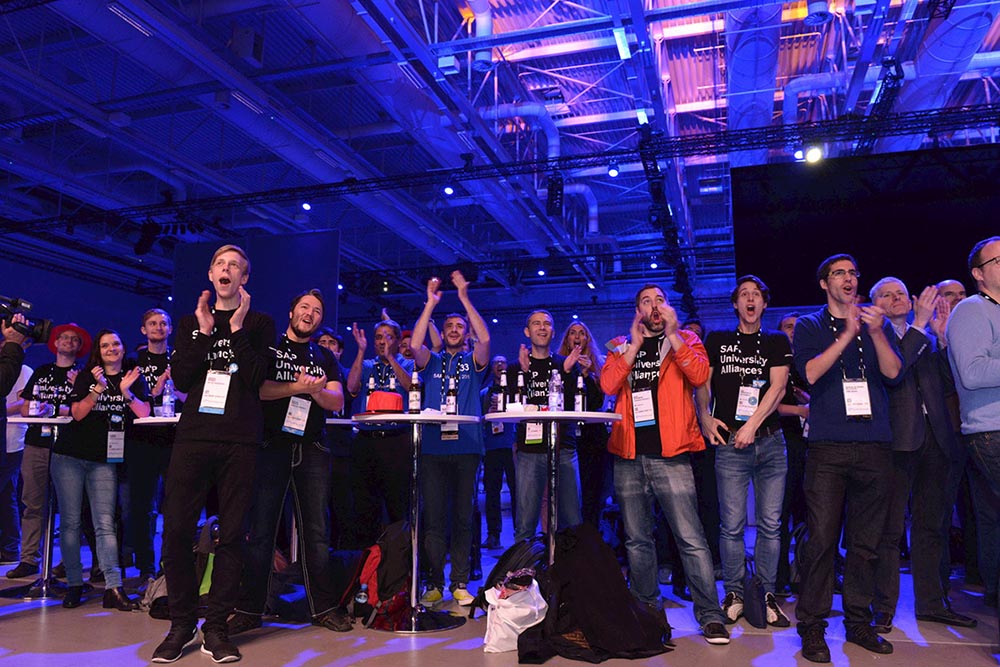
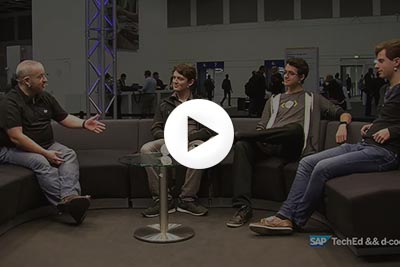
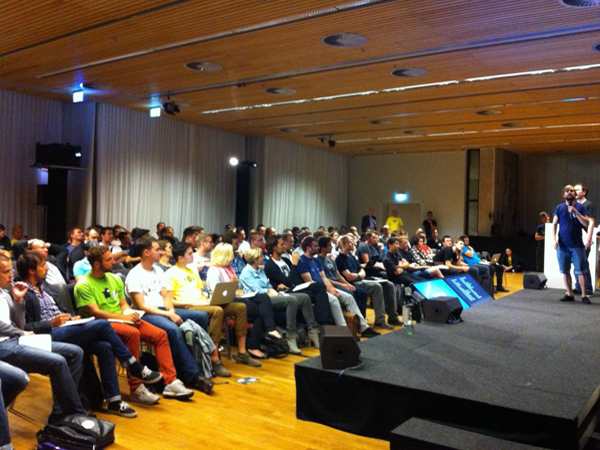
By winning the InnoJam we won the possibility to pitch our idea in front of a few thousand people at the SAP TechEd && d-code DemoJam. Six well prepared teams competed with us on stage, all having only 6 minutes to give a live demonstration of the apps. And it was up to the audience to choose the winner (with the help of the Clap-o-meter). We managed to convince the audience and also took home the prestigious DemoJam medal. You can take a look at the video of our demo presentation and at the live studio interview with Craig Cmehil, Global Director Developer Relations at SAP.

DemoJam Stephan Schultz DemoJam Michael Weisz
DemoJam Stephan Schultz DemoJam Crowd
Demo video Live studio interview

Curriculum vitae

It was about time to create a nice CV for my applications, so I started to design a neat little website about me and created the CV.

Stephan Schultz - CV

The website

I wanted a small, responsive page that works well on desktop and mobile. It contains some decent transitions, taking advantage of HTML5 and CSS3. It’s not overloaded, feel free to check it out if you have a minute.

The CV

My intention was to design a CV that indicated my passion for mobile development. I designed it using Photoshop and based on the Android Holo theme. When I was happy with it, I switched over to InDesign and created an interactive PDF version, which you can download below.

Facebook World Hack Berlin

Gestern fand der Facebook World Hack Berlin statt. Das Event teilte sich die Zeit von 9:00 – 18:00 Uhr um ausgewählten Entwicklern aus ganz Europa die Facebook APIs & SDKs näher zu bringen und anschließend die besten Apps aus einem 6 stündigen Hackathon zu premieren. Fotoalben auf Facebook und Google+.

Facebook World Hack - Einführung Facebook World Hack - Hacking

Ich habe in dieser Zeit den Facepile Creator entwickelt. Es ist eine WebApp, welche die Interaktionen von Facebook Usern mit einer gegebenen Facebook Seite visualisiert. Die App funktioniert in jedem Browser mit HTML5 Unterstützung, mobile Geräte eingeschlossen.

Beispielanwendung: Der Facepile Creator als Plugin für die Remote Control Apps Facebook Fanpage: