Elevator Simulator – HackZurich

Just like the last two years, I’ve sacrificed one of my weekends to fly to HackZurich, one of the largest hackathons in europe. I brought a couple of my fellow students and the plan to create something fancy during the 40 hours of coding time available. But for some reason, we couldn’t really agree on any project – so we tackled a very unsexy topic: elevators.

What’s wrong with elevators?

I have no idea. We just felt like the logic that is currently in use to control elevators could use some improvements. Currently, elevators stop on the level where the last person got out. That works ok and consumes the least amount of energy. However, it’s not very clever. Think about an office building where 50 people would start their work day in the 3rd level, all arriving at about 9 am. People would have to request elevators back to the ground floor when they arrive every time.

A smarter logic

Our approach changes the behaviour of elevators when they are not in use. Take the office example mentioned above. Our control logic would send idle elevators straight back to the ground floor, ready to lift the upcoming group of people up. We predict the levels that idle elevators should move to by looking into the past. We are tracking on which levels people requested elevators (depending on the time of day) and assign each level a score. Based on that score, we can evaluate which level we should send elevators to.

Web simulation

Of course we needed a way to benchmark and showcase our logic. I decided to render an abstract 2D view in a webapp, using plain JavaScript and the HTML5 canvas. It can draw any state of our simulation and thus visualizes our logic over time.

Elevator Simulation

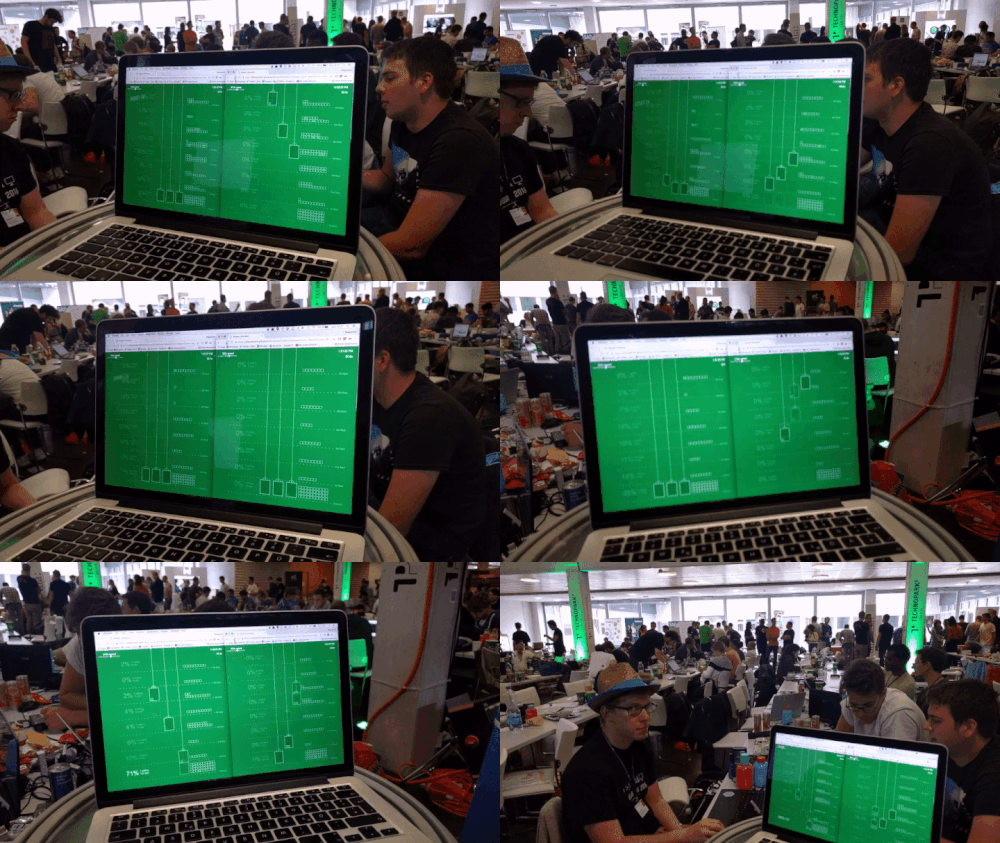
Above you can see a comparison of our smart elevator logic (left) and the default elevator logic (right) at 200x speed. We use gaussian distribution to generate a number of people (rendered as squares) that work at specific times on specific levels.

Benchmark

Imagine a building with 6 levels, 4 elevators and 500 people using the elevators over the course of a day. With the default logic, we measured an average waiting time of 27.6 seconds. With our smarter logic, the average waiting time dropped to 14.8 seconds! This time saving adds up if you think about it in the long term.

Self-Balancing Robot

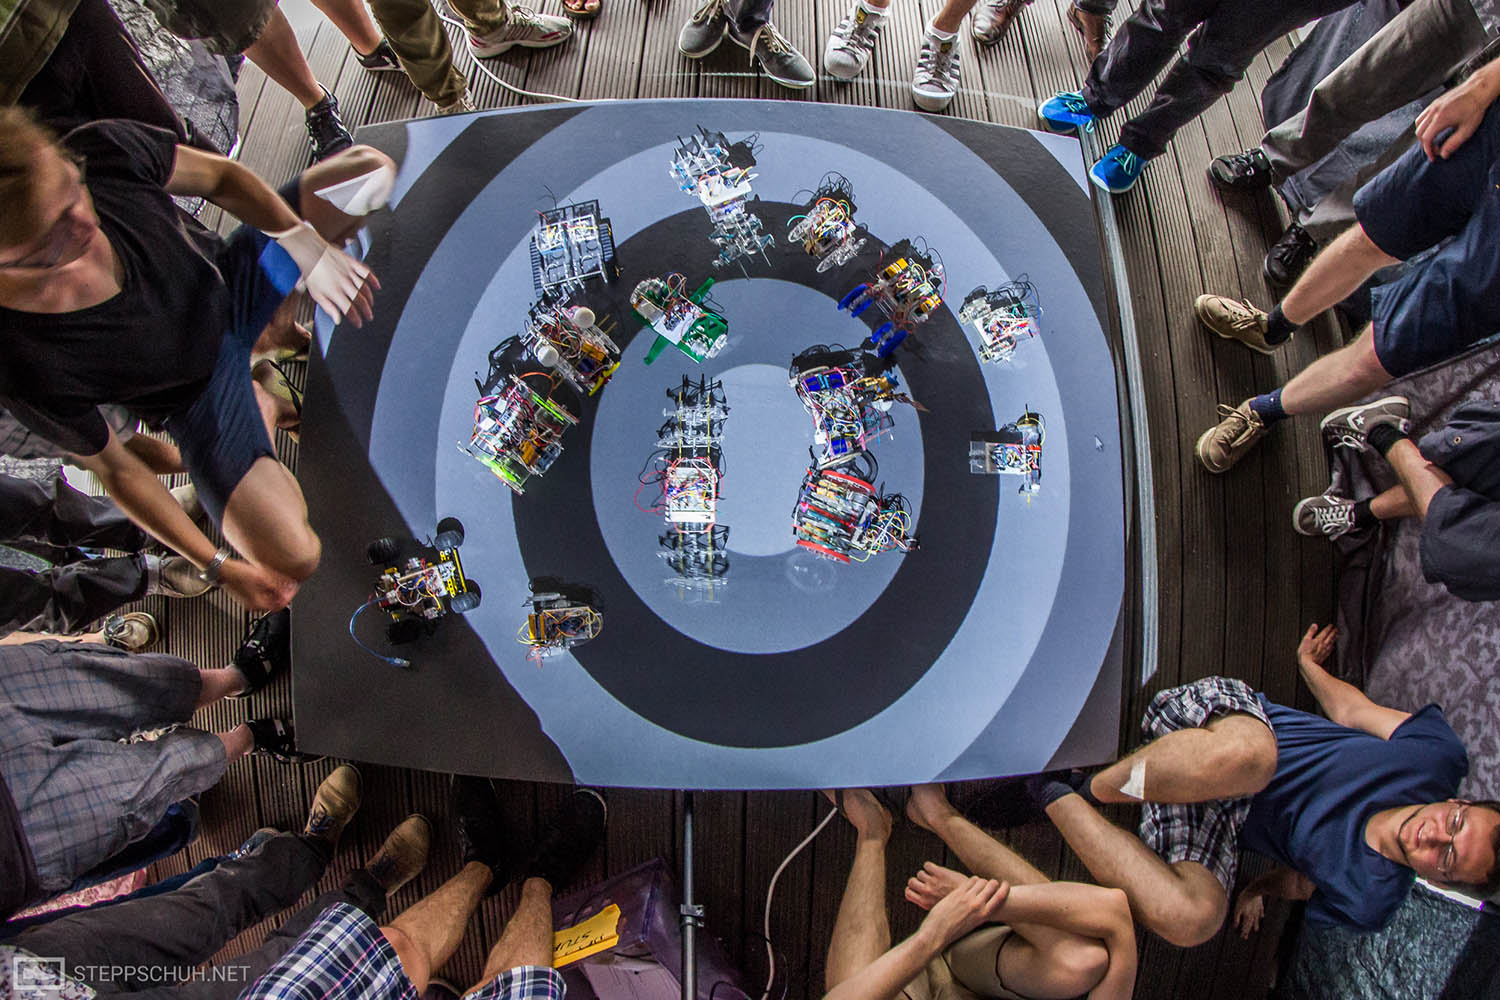
The following is a computer vision project for a class in Human Computer Interaction. The task was to create an autonomous moving vehicle that finds the center of a projected light source, built exclusively from laser-cut parts and some given electronics.

I decided to create a self balancing robot because it’s more agile than a device with more wheels and for the extra challenge that comes with it. It took a lot of iterations before I had a working prototype, especially because of gears and weight optimisations.

First Prototype

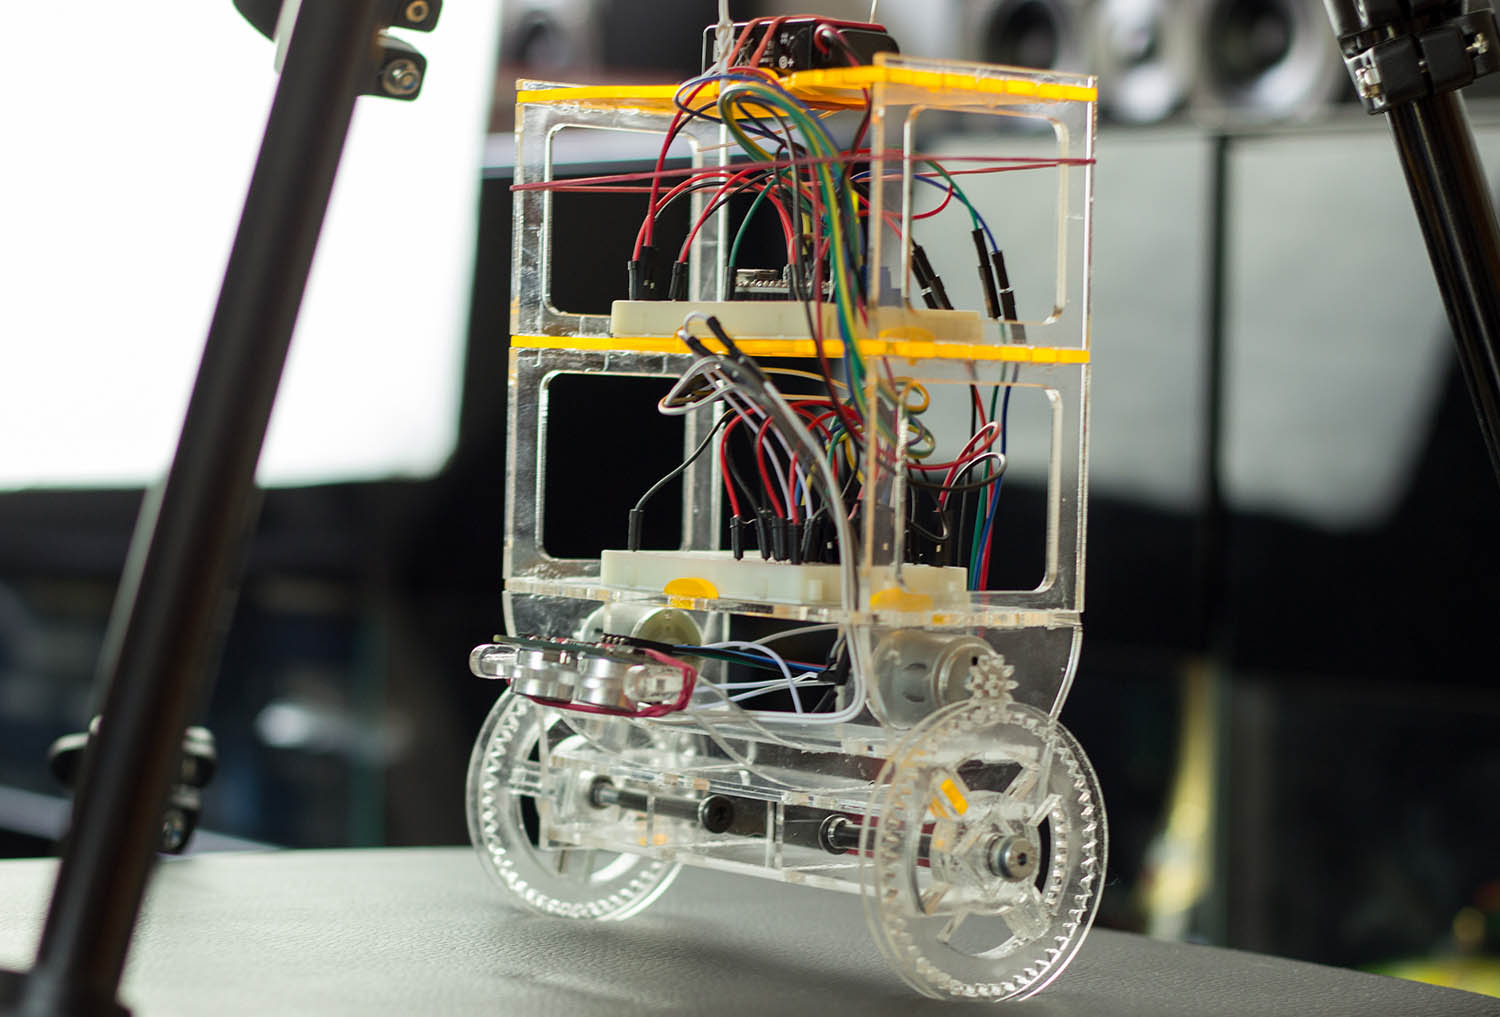
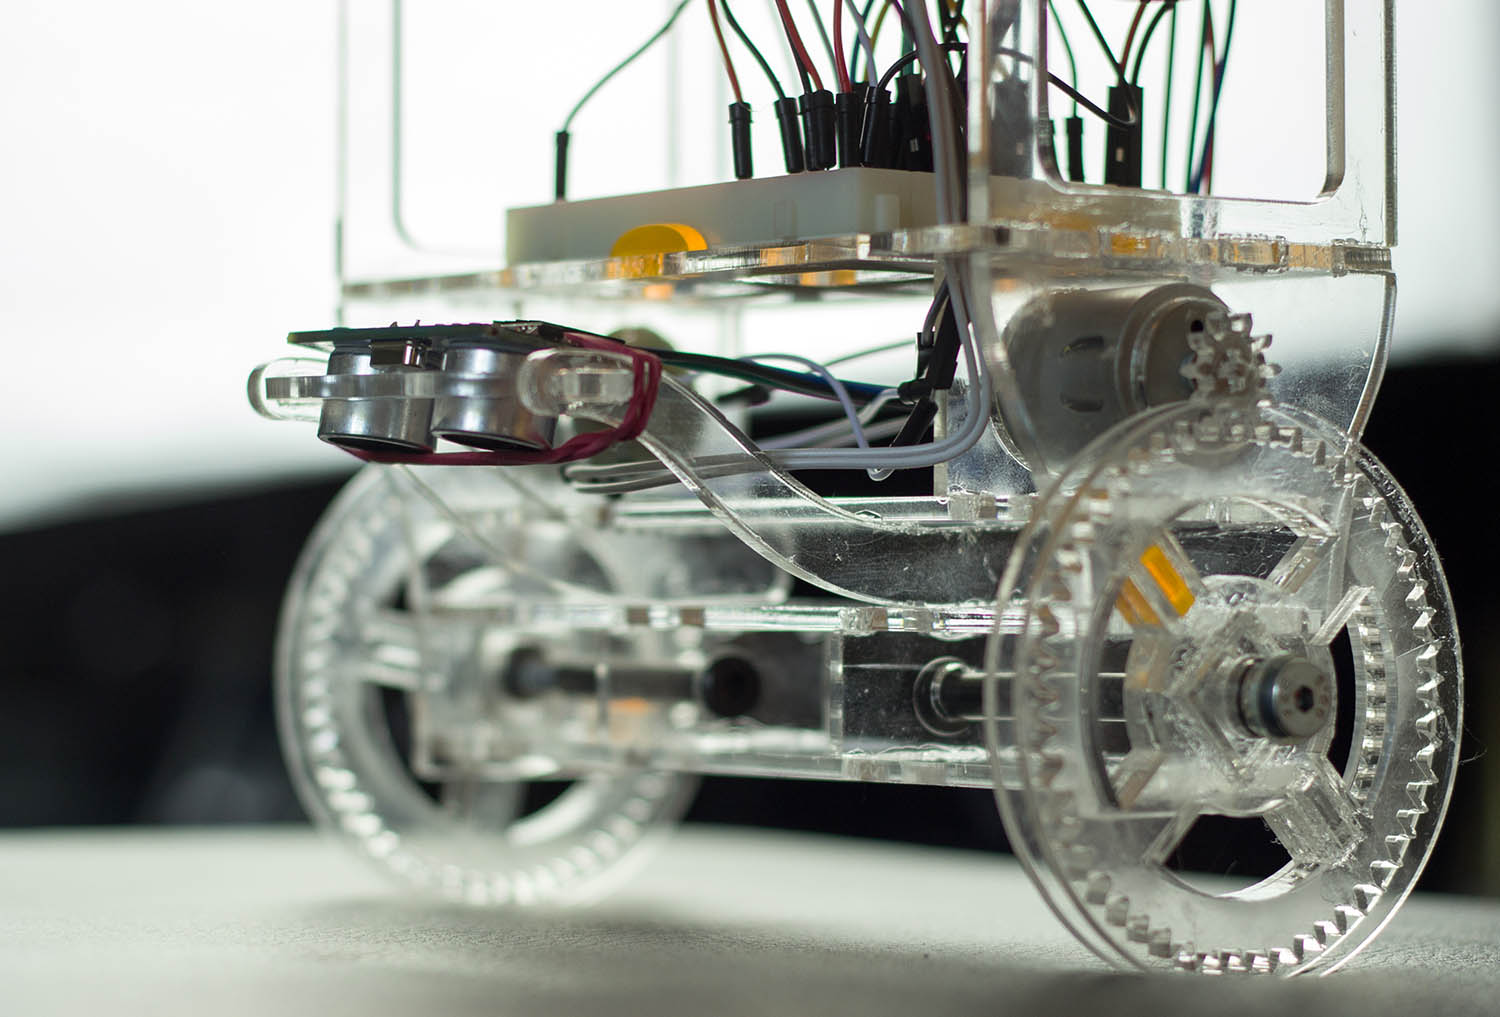
My initial design was basically a shelf on wheels. Because only laser-cut parts were allowed, the wheels are just multiple acrylic circles. The top level of the shelf held a battery and the light sensors, below that was an Arduino Nano. On the bottom layer was a breadboard with an H-bridge on it (for controlling the DCs).

Self Balancing Robot Prototype Self Balancing Robot Prototype

In all my prototypes the balancing magic is done using an ultra sonic sensor. It detects the distance to the ground and can calculate the tilt angle using that information. Surprisingly, this worked out quite well. Usually people use a gyroscope for balancing things, but I had this sonar lying around and wanted to play with it.

Last Prototype

Unfortunately the above robot had a few flaws. It wasn’t able to balance itself because the DC motors didn’t output enough power. Friction between the gears and not enough transmission resulted in barely spinning wheels at all (without any load).

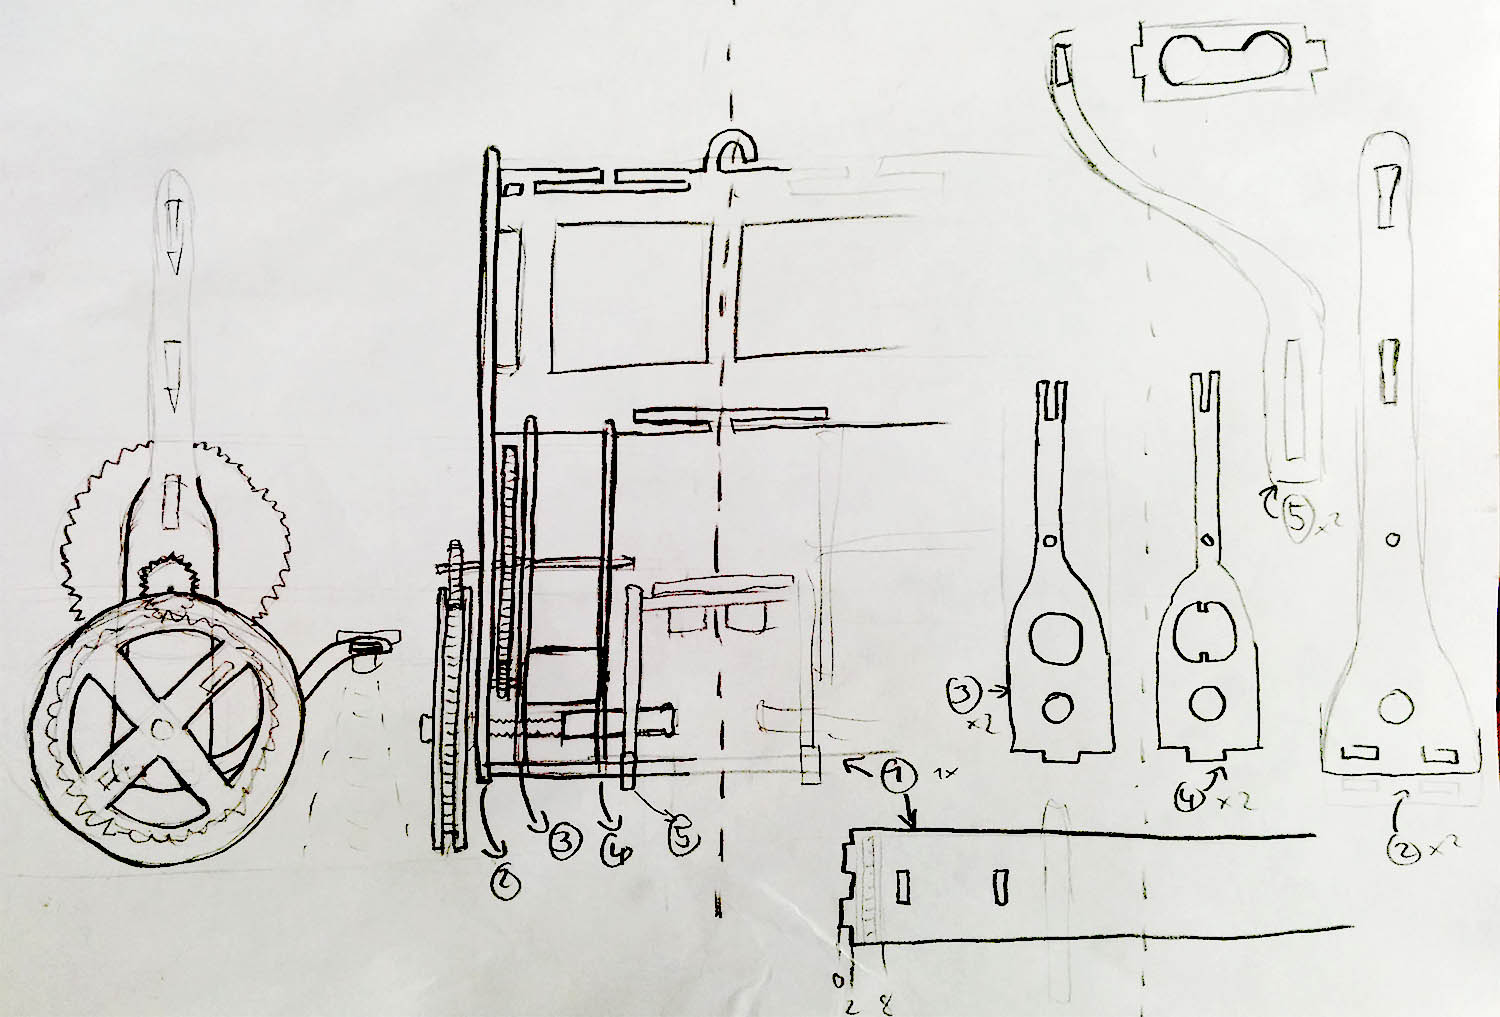
Self Balancing Robot Sketches

I needed to come up with a new robot that has significantly less weight, smoother axis and improved transmission. I came up with the sketch above, it has some more gearing and gets rid of the layers (shelf look). I also removed the breadboards and used thinner acrylic to make it more lightweight.

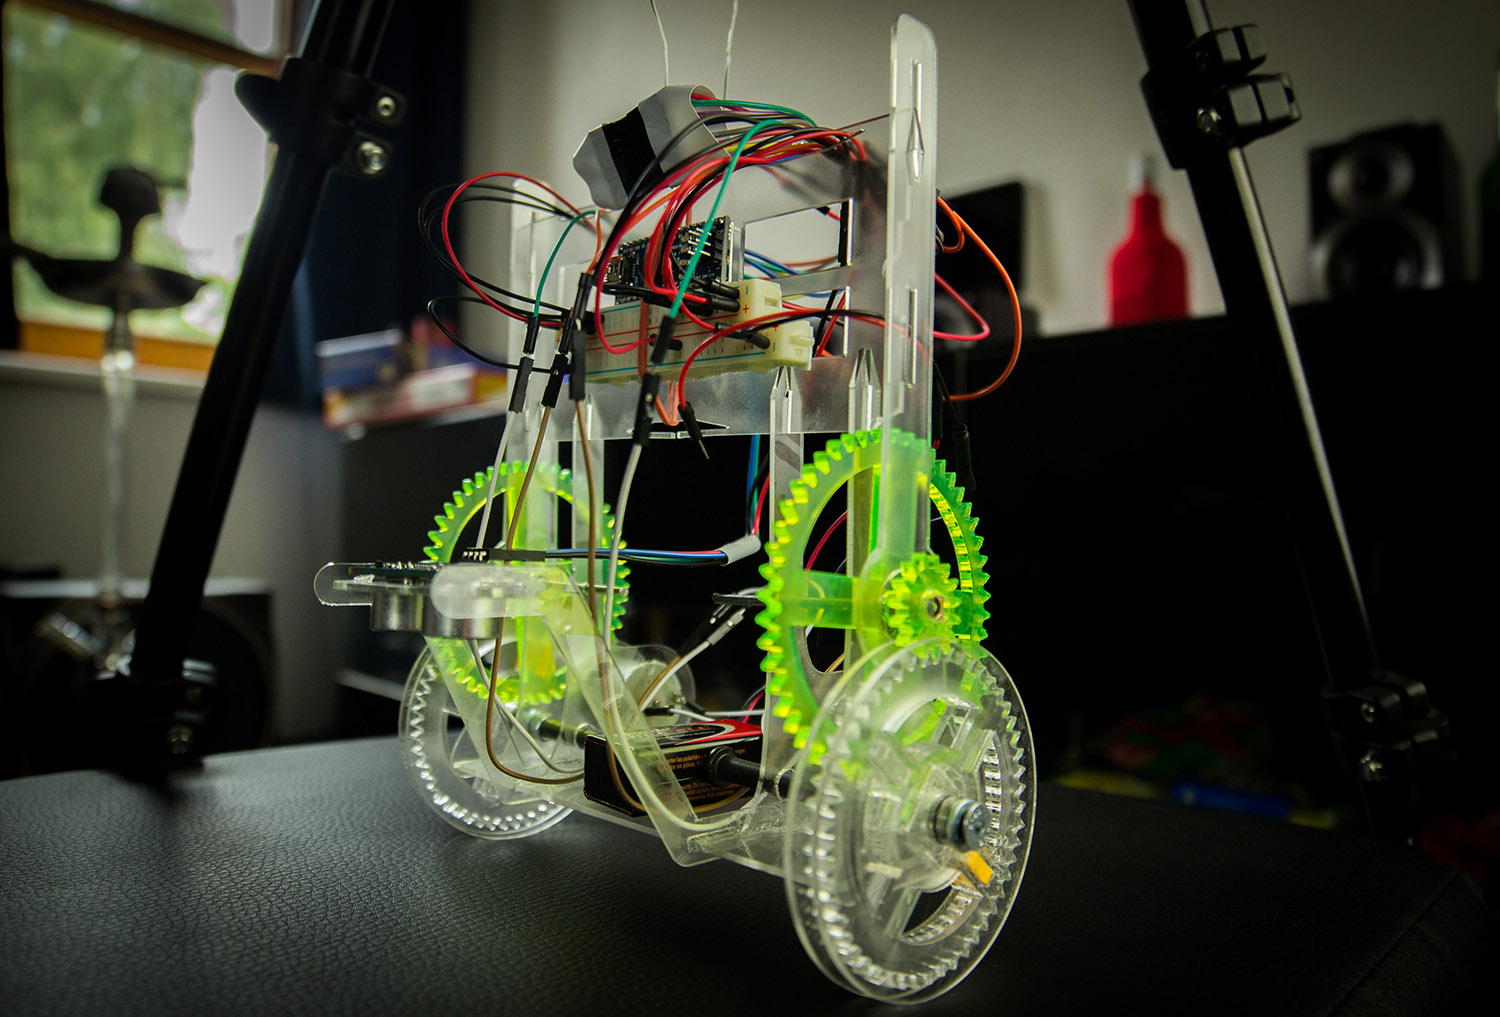
Self Balancing Robot Prototype Self Balancing Robot Prototype

This robot didn’t only look fancy, it was also able to balance itself! Although it couldn’t tolerate a lot of distortion because of the weak motors, it was my final version (just in time for the contest).

Contest

We actually had a competition for all the projects that my fellow students created for this class, you can have a look at the different approaches in this short video. Everyone had a ton of fun and as usual, there wasn’t any robot that didn’t had some weird issues. Anyway, my version won me an engraved mango for being the most exotic design, jay!

Self Balancing Robot Battle Self Balancing Robot Battle

If you want to learn more, you can find some images, wiring details and code on the project site on hackster.io:

3D printed catapult

As part of my ongoing lecture about Human Computer Interaction, I got the assignment to shoot a small metal ball as far as possible – with a 3D printed thing.

That sounds like an easy thing to do right? Right, if there weren’t these specifications:

  • No additional materials allowed (printed plastic only)
  • Magazine holding at least 3 shots (metal balls)
  • Next shot loads automatically
  • Trigger may be operated with a stylus
  • Object stands & deals with the recoil itself
  • Dimensions of max. 5cm x 5cm x 5cm
  • Using max. 3cm³ of material

Design

Every team only has one chance to get it right. No prototyping iterations possible – the submitted model will be printed once and used for the competition.

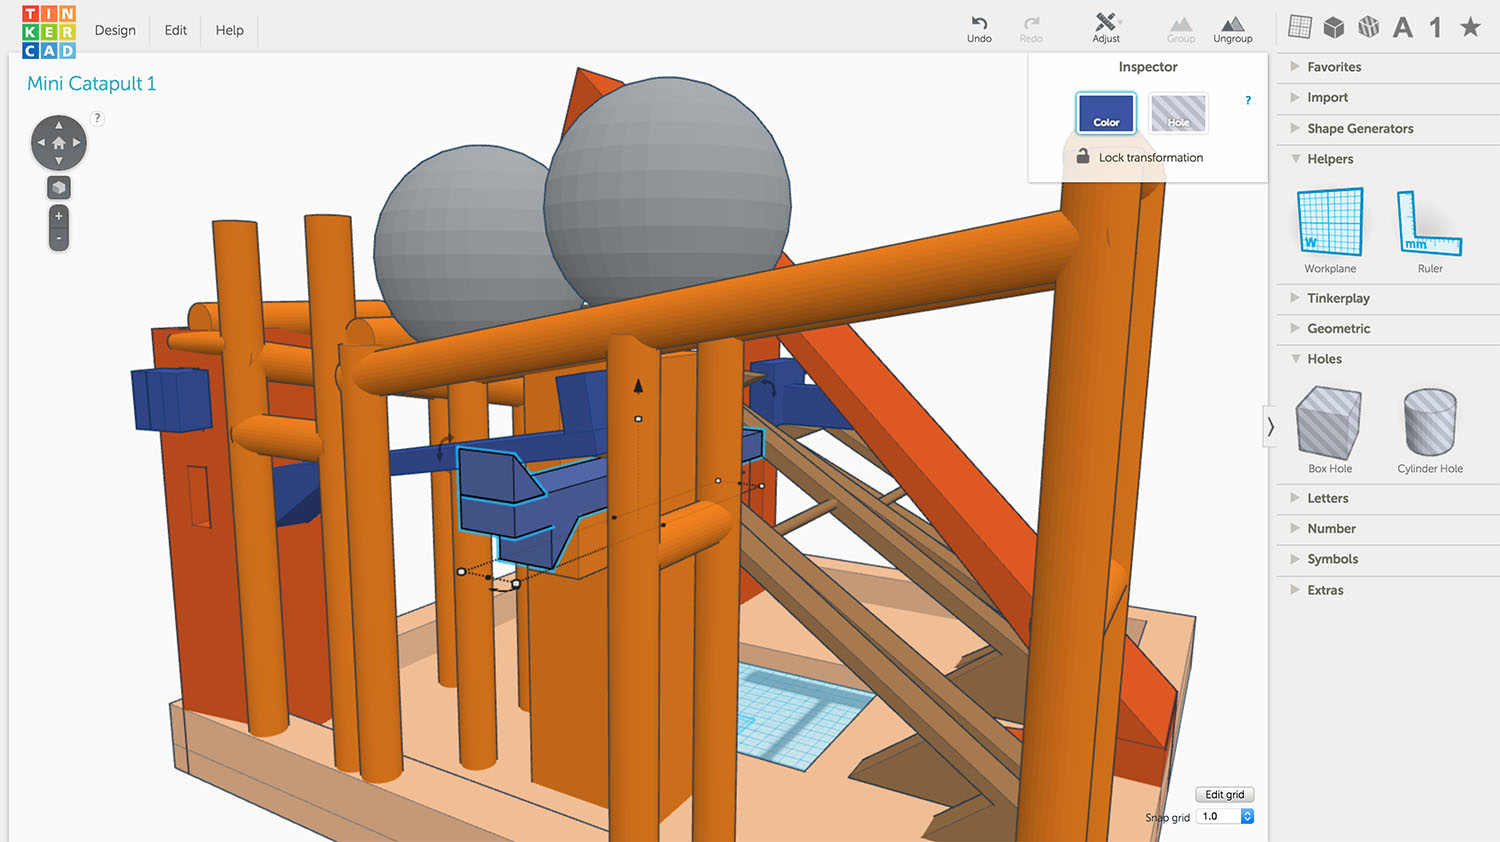
Keeping in mind that all parts of the ‘thing’ will be made out of plastic, a catapult with a bendable arm (orange object in the center) seems like the best approach.

Catapult 3D Model CAD

You’ll find quite a few flexible lever / spring objects that create tension (brown in the render above). The ones in the front create some pressure against the trigger mechanism, the ones in the back are there to control the shot reloading.

When the catapult arm bends down, it will also toggle the shot reloading and one ball will roll onto the arm. The long blue bar at the very right will hold the arm in place until someone triggers the shot. The trigger mechanism can be operated by pushing a stylus or pen into the hole of the orange object in the front-right corner.

3D Model

Although I have barely used any 3D modeling software before (SketchUp years ago), I was able to create the object above with Tinkercad in just a few hours. It looks really messy, but that’s due to the tough space limitation. You may want to check out the real STL model in 3D to get an idea of what’s going on there.

Catapult Tinkercad Editor

Phyisical Object

(not printed yet, come back next friday)

If you want to play with the model, feel free to copy it directly from Tinkercad:

ReMerchant – Apps World Hackathon

The Apps World came all the way to Berlin this week, so I decided to check it out and was happily surprised that there was a hackathon ongoing when I arrived! Of course I joined, together with my fellow student Jonas Pohlamnn. Spoiler: great success!

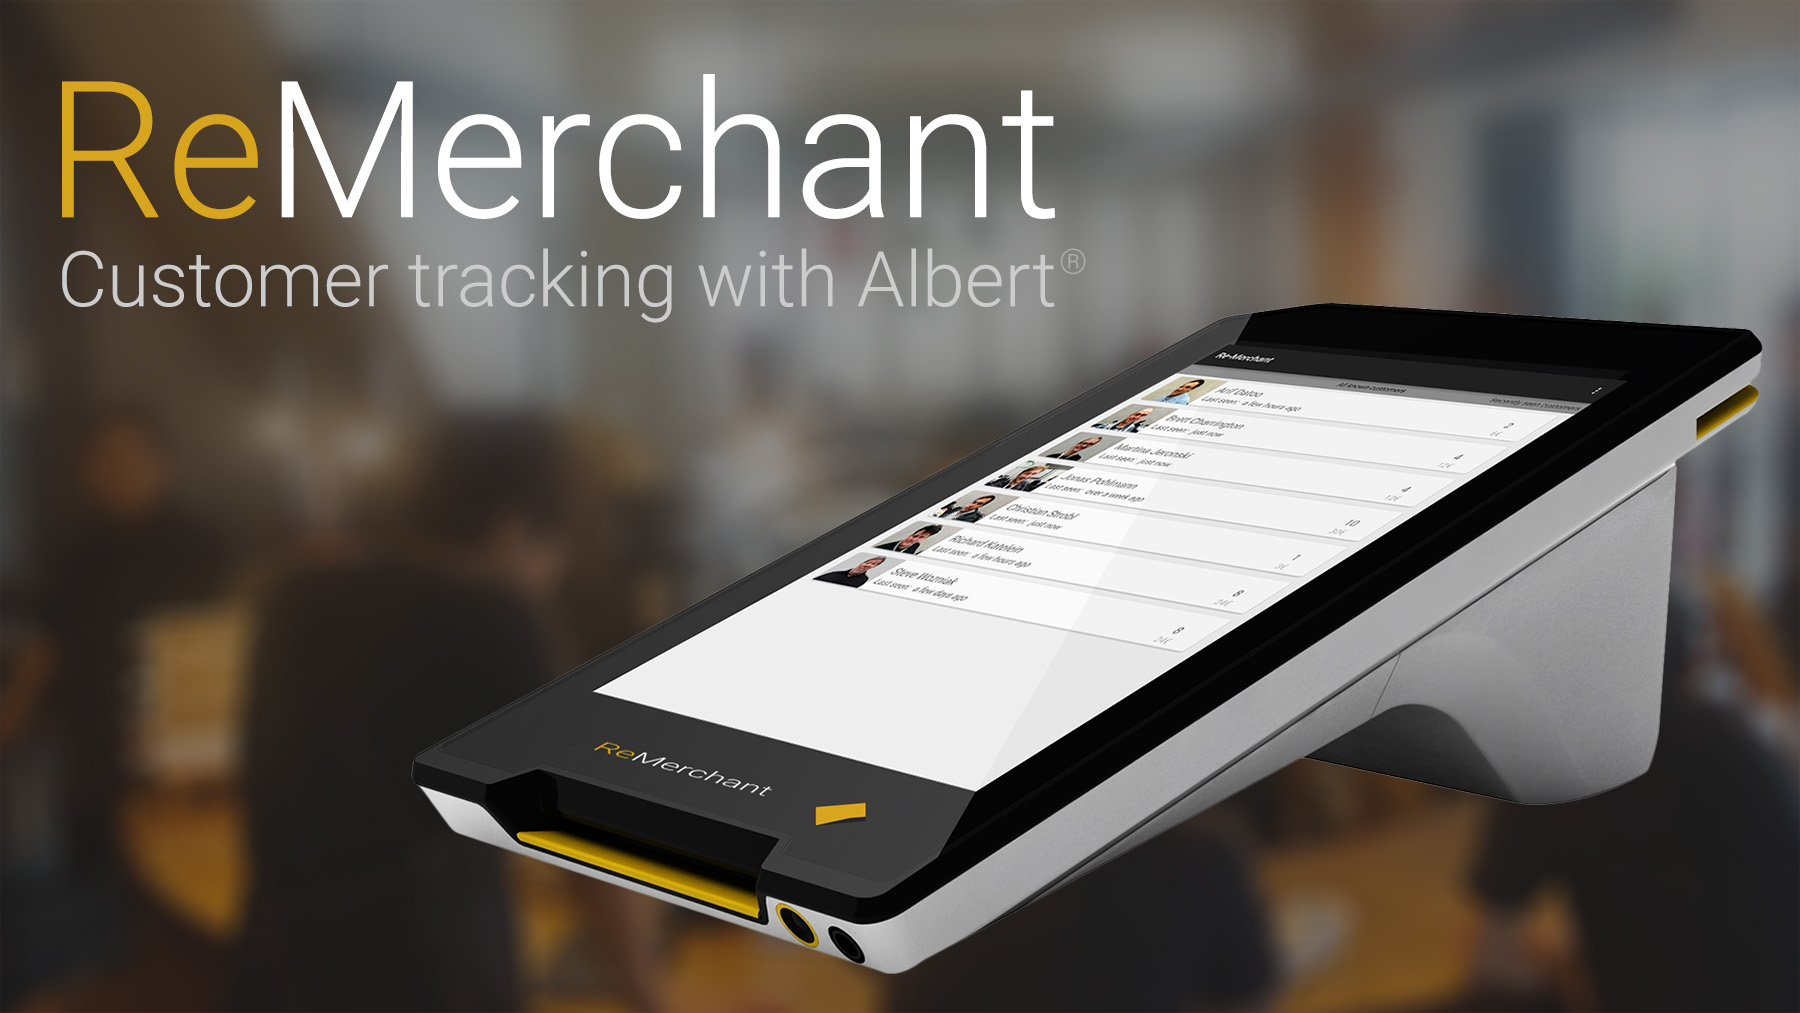
ReMerchant App Photo

The Albert device

One of the sponsors was Wincor Nixdorf – the company behind the Albert, an Interactive Multifunctional Payment Device that runs Android (see above image). You can imagine a lot of retail stores having these devices in the future – we created an app for the albert that customers and sellers will benefit from.

The ReMerchant app

ReMerchant allows you to track and identify customers in stores using nothing but the Albert device. It uses Bluetooth and assigns the unique addresses to customers. When a device comes in range of the Albert, it can detect the associated customer.

Knowing which customers are near by is a huge thing for stores. Store owners can prepare items based on the last purchases of that user, they can track in which other stores the customer has spent money and on which items, they can provide an overall more personal customer treatment. If you can’t imagine all the possible advantages of this, take a look at our presentation slides.

Winner Price Photo

The jury did see the potential of our prototype and rewarded us generously. As usual, the app is open-source and available on GitHub, feel free to check it out:

eBay Kleinanzeigen Estirator

I’ve spent the past 48 hours at the HPI Hackathon sponsored by eBay Kleinanzeigen and mobile.de, but this time I organised the event together with 2 of my fellow students. Of course I couldn’t resist and hacked together a little app together with Jakob Frick, the so called Estirator!

Estimator App Photo

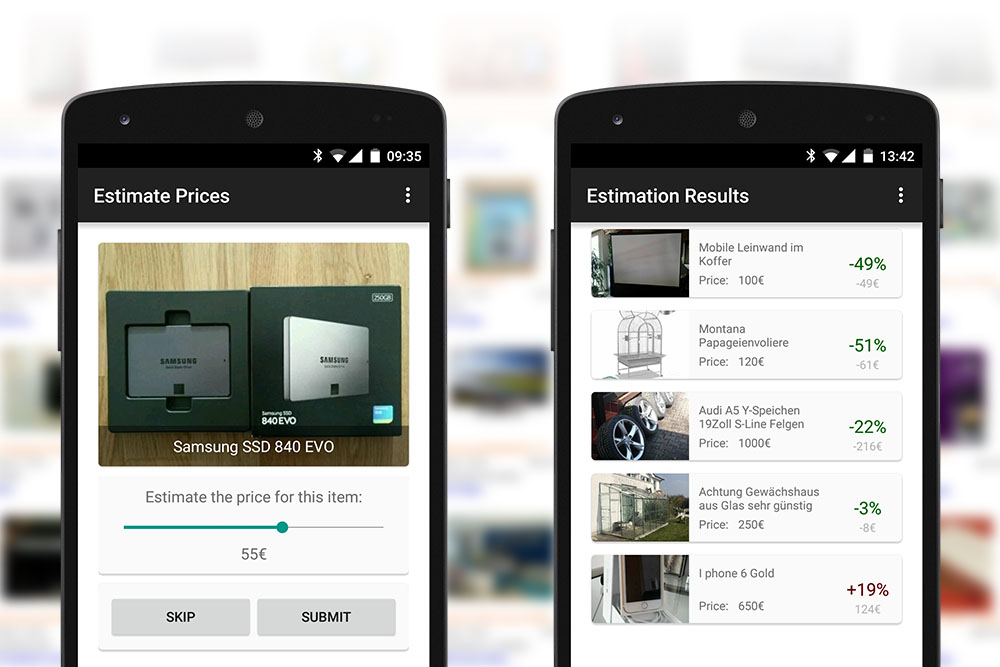
Estimate Prices!

The app will show you a bunch of eBay item listings, but only one at a time and without mentioning the price of that item. You now have to estimate a price for each item, just based on the photo and title.

After you have done that, the app will show you all the items that you have previously estimated – but this time it will tell you the real price.

But, what’s the point?

The estimated prices from each user are coming together in a cloud database hosted on the Google App Engine. It can generate a ranking of items that are currently available on eBay, sorted by how much under worth they are sold.

Advantage for users: After they have contributed to the database by estimating items, they can find super cheap offers within seconds.

Advantage for sellers: They can get an idea of how much customers are willing to spent for their products.

Advantage for eBay: Possible A/B testing for product photos and their influence on the customer.

The app is open-source and available on GitHub, feel free to check it out: